Introduction
Welcome to the vibrant world of home gardening, where the fiery passion for chilies transforms from mere seeds into a spice lover’s delight. Growing chilies at home is not just a pursuit of flavor, but an adventure into horticulture that rewards with both spice and satisfaction.
1. Choosing Your Seeds
a. Variety Matters
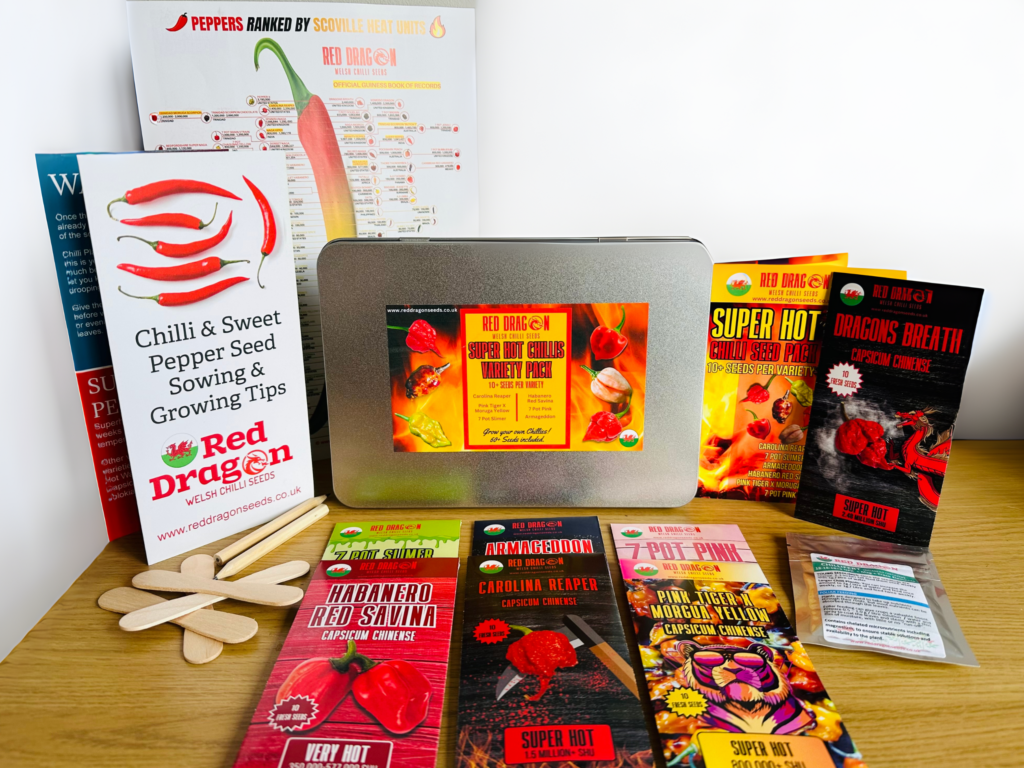
Begin your chili-growing journey by selecting the right seeds. Chilies come in a variety of shapes, sizes, and heat levels. From the milder Jalapeños to the scorching Carolina Reapers, choose based on your heat preference and culinary use. We found a great range of chilli seeds from Red Dragon Seeds who are based in South Wales. The Super hot seed collection is just fantasic.
b. Seed Source
Quality seeds are crucial. Opt for reputable suppliers or garden centers. Consider organic and heirloom varieties for a more sustainable and flavorful harvest.
2. Germinating Your Seeds
a. The Setup
Chili seeds need warmth and moisture to germinate. Use a seed tray with a fine, seed-starting mix. Place the tray in a warm spot or use a heat mat to maintain a consistent temperature.
b. Patience Pays
Germination can take anywhere from 7 to 14 days. Keep the soil moist but not waterlogged. Once sprouted, provide ample light either from a sunny window or grow lights.
3. Transplanting Seedlings
a. When to Transplant
Once your seedlings develop 2-3 true leaves, it’s time to transplant them into larger pots. This gives them more room to grow and develop a stronger root system.
b. The Transplant Process
Carefully transplant seedlings to avoid damaging delicate roots. Use a nutrient-rich potting mix and ensure pots have good drainage.
4. Caring for Your Chili Plants
a. Sunlight and Water
Chilies love the sun. Aim for at least 6-8 hours of direct sunlight each day. Water when the top inch of soil feels dry, avoiding over-watering which can lead to root rot.
b. Fertilizing
Feed your chili plants with a balanced, water-soluble fertilizer every 2-3 weeks to ensure they get the necessary nutrients.
5. Pest and Disease Management
a. Common Issues
Watch out for pests like aphids and spider mites. Diseases such as powdery mildew can also affect chili plants.
b. Organic Solutions
Use neem oil or insecticidal soap for pest control. For diseases, ensure good air circulation and avoid overhead watering.
6. The Flowering Stage
a. The Transition
As your plants mature, they will start to flower. This is a crucial stage as flowers develop into chili fruits.
b. Encouraging Pollination
In outdoor gardens, natural pollinators like bees will do the work. Indoors, you might need to gently shake your plants or use a small brush to transfer pollen.
7. Harvesting Your Chilies
a. Knowing When to Harvest
Harvest time varies with the variety. Generally, chilies are ready when they’re firm and have attained their final color.
b. The Harvest Technique
Use a sharp pair of scissors or pruners to cut the chili from the plant, avoiding damage to the stems.
8. Enjoying Your Harvest
a. Culinary Uses
From salsas and sauces to spicing up your favorite dishes, chilies add a zestful flavor to any meal.
b. Preserving Your Chilies
You can dry, freeze, or pickle your chilies for long-term storage. Dried chilies can also be ground into homemade chili powder.
Conclusion
Growing chilies from seeds is a rewarding experience that spices up not only your dishes but also your life. The journey from seed to spice is filled with learning, patience, and ultimately, the fiery satisfaction of harvesting your home-grown chilies.